Final Cut Pro is a fantastic video editor. It has so many features and endless third-party plugins that you can create almost any video you can think of. One thing that is apparent after using it for a while is that it is a HUGE resource hog! Even if you have a decently capable Apple desktop or MacBook, it can still suck all of the resources from the machine making your whole editing process very painful and not to mention, a waste of time.
If you are experiencing slow performance when editing you basically have a couple of options. The first is to buy an upgraded machine or at least “max-out” your computer’s memory, or RAM. If you have already done that but you don’t have enough cash to purchase a new computer, here are a few simple tips that should help Final Cut Pro run a bit faster!
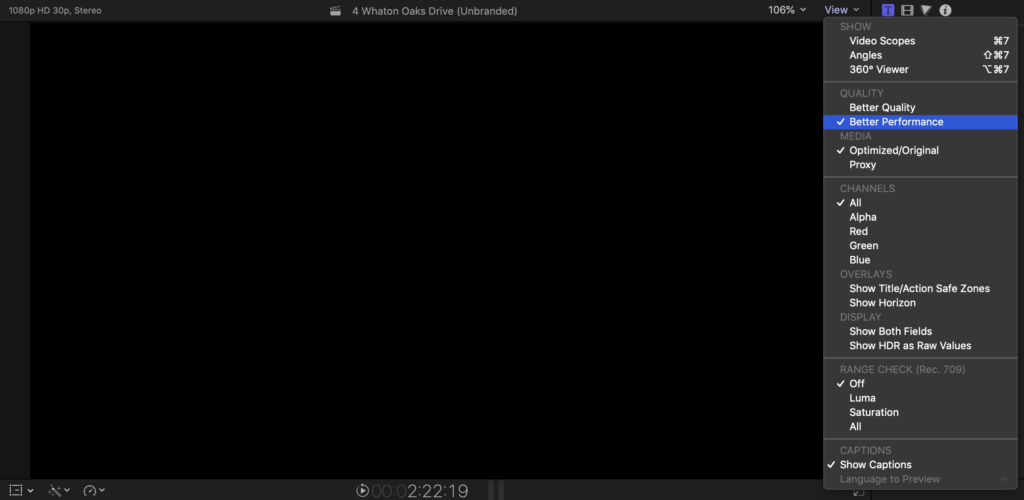
Switch to Better Performance, Not Better Quality.
If you are not familiar with the Better Performance feature, this might actually make your Final Cut Pro instantly run better. With this feature turned in, you are telling the software to display a slightly lower resolution image in exchange for your computer to run faster. This is especially helpful when working with 4K footage. One this to note, even though your footage looks lower resolution in the Viewer, it will still export with its original quality. To turn this one, simply look at the top right of your viewer and you will see the View menu. Click the down arrow and look for the Quality section. Change this setting to Better Performance. See if that does something for you!
Shut Down Programs You Are Not Using
This might be a no brainer but if you have programs like Photoshop, Mail, and a YouTube video playing in the background while trying to edit your videos, you are most likely experiencing slowdowns. If possible, close out as many unused programs as possible to make out with slow performance. You can even use your Actively Monitor to see exactly what is using up so many resources.
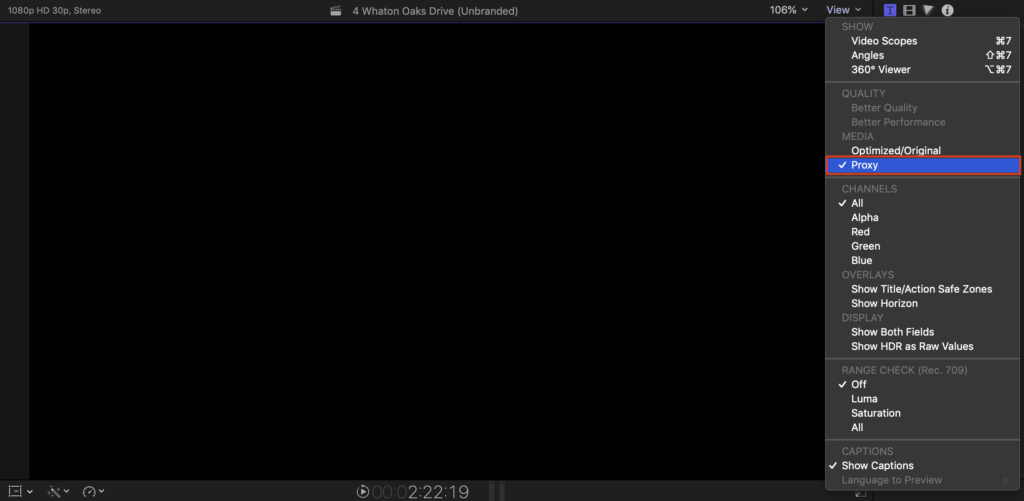
Create Proxy Media
If you are not familiar with Proxies, they are basically separate media files created from the original media but at around 1/4 the size. Why is this helpful? Lower resolution files have a smoother playback than larger files. Using Proxy Media is easy and FCPX can create them for you. You can simply click the Create Proxy Media button during import or in the Viewer, you can check the menu item label Proxy Media.
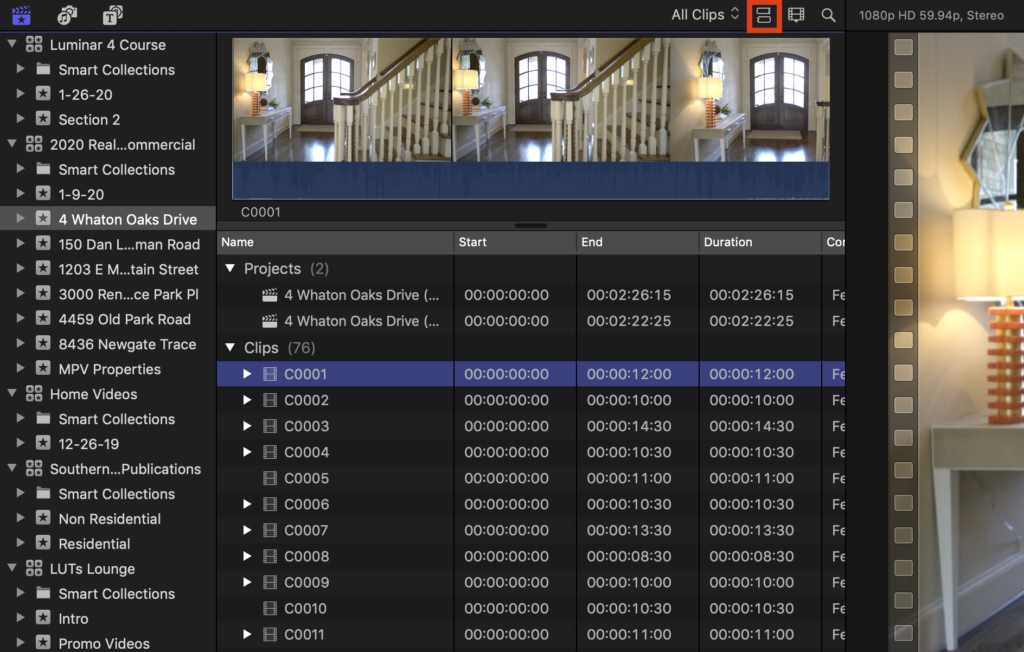
Change How You Files Are Viewed and Stored
Yes, Final Cut Pro can be that picky! One of the best ways to view the files in your project is with the List view instead of the Thumbnail views. The reason for this is when using the Thumbnail view, FCPX has to render all of those little clips even if they are not in your timeline. Using the List view, you bypass this needless rendering. Also, you want to make sure your files are all stored on the same hard drive if possible. You really don’t want FCPX to search multiple different hard drives for all of your files. This might mean purchasing a larger HD just for your Final Cut Files. One of my favorite external hard drives that is cheap and has a large capacity is the Seagate 8TB Hard Drive.
Close Your Effects Browser and Inspector
This one is a simple one but these two panels are can actually use a bit more processing power than expected, especially while you are organizing media and color grading. While doing these tasks, go ahead and hide both the Inspector and Effects Browser to see if you get some speed back!
Make Sure You Have Free Space on Your Hard Drive
If you have been using Final Cut Pro X for a while you know that it can take up A LOT of space on your hard drive. Because of this, you really want to make sure that you have enough free space to give FCPX a bit of breathing room. One way you can do this is to delete Proxy Media. You really want to make sure you have at least 100GB free on your hard drive at all times. Anything less, you will start seeing slowdowns.


