When you are making your own videos you typically take on many roles. You are the Director of Photography, Executive Producer, Camera Operator, Prop Master, and even the talent. Because you wear many hats you have to be good at many things and one of the main things is Editor. This means not just cutting the clips or matching audio but color correction and color grading. So, what is the difference between these two? Let’s talk about it.

What is Color Correction?
When working with your videos, the process of Color Correction is your first step. This typically includes taking your footage, which if shot in D-log or S-log, and making it look like it was when the scene was captured. This can be as simple as changing the white and black levels to make the scene or as complex as using Curves to adjust each region of your histogram. Either way, you are trying to bring the raw footage back to a usable, realistic-looking clip. You can do this to each clip individually (which I recommend) or you can use an Adjustment Layer but you will still need to tweak the clips after.
What is Color Grading?
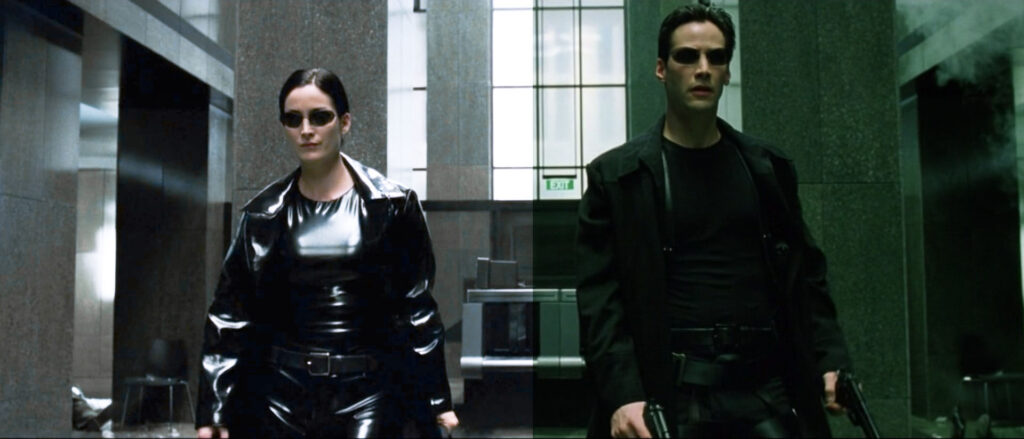
After Color Correction, Color Grading is your next step. This is where you create the actual look of your film. This is where you can set the mood depending on the type of video you are creating. When applying Color Grading steps to your clips, it’s really difficult to give an exact strategy but the best way to learn is to look at other videos such as big Hollywood films. Let’s take the movie, the Matrix for example. That movie has a very distinct look and it matches the mood of the entire film. How boring would it have been if it had zero color grading and had a very realistic tone. Basically color grading is where you apply the creativity to your clips. and the best way to do this is to experiment with the color panel and color curves in your editing program or you can use 3D LUTs to instantly apply color grading effects.