Whether you are editing videos in Adobe Premiere or Final Cut Pro, applying LUTs to your videos is pretty much the same process. Usually, it is dragging an effect onto your clip or applying a certain plugin directly to your clip in the timeline but there is another way to do it that is much better and gives you much more control over how much effect you apply. I will demonstrate this in Final Cut Pro X but this process is very similar in other mainstream editors but this will show you the best way to apply LUTs to your films.
Downloading the Adjustment Layer
This first thing you need to do if you have never used an Adjustment layer before is to download and install it in your Final Cut Pro. It is a free download and you can find it via another Final Cut Pro user Ryan Nangle. He offers you this download (for which we greatly appreciate) and it works great for applying these effects to your clips.
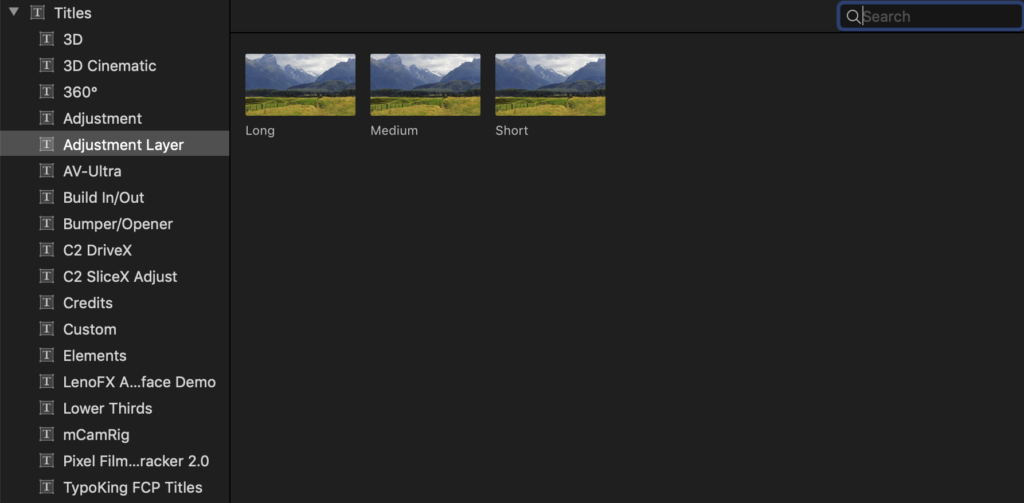
Once you download the Adjustment Layer plugin, you will need to Unzip the folder and then drag this folder into your /User/Movies/ Motion Templates/Titles folder. From here, if you have Final Cut Pro already open, you will need to close and restart it for the changes to take effect. Once FCPX is restarted you will need to navigate to the Titles and Generators sidebar and you will see the Adjustment Layers folder with 3 different options inside.
How to Use the Adjustment Layer with LUTs
Adjustment layers are great for almost any type of editing but in this instance, I want to so you how great it is to use them with your LUTs. So the first thing you need to do is make a duplicate of your video clip. Next, drag your Adjustment Layer on top of one of the clips you want to apply your LUT to. If you have downloaded the Adjustment Layers from Ryan Nangle as mentioned above, you have three different options to choose from; Short, Medium, and Long. Either one will work as you can still drag the end of your Adjustment Layer to match the duration of your clip.
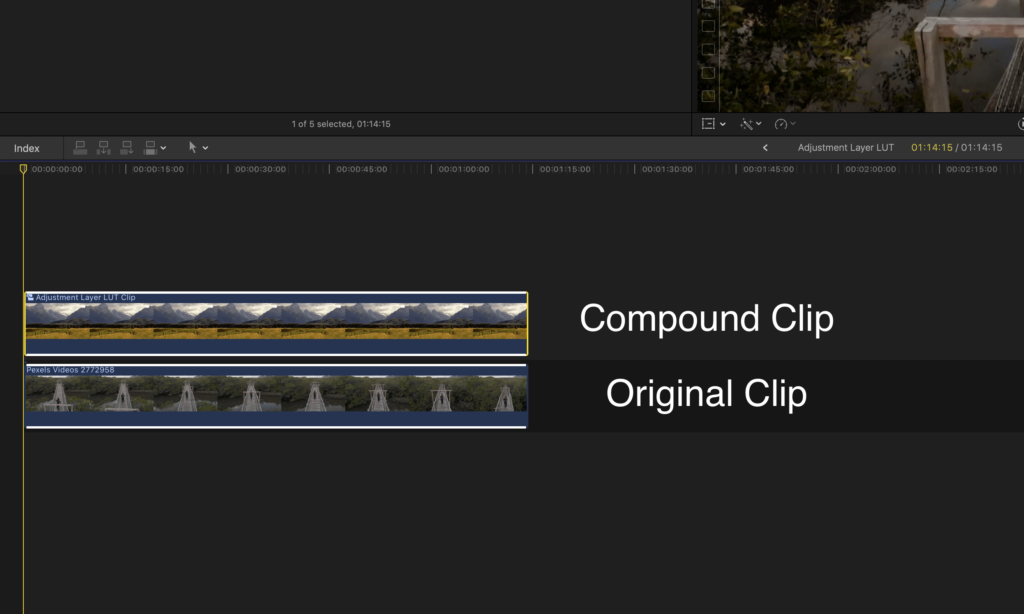
Next, go to your Effects Browser and select the Color category and choose Custom LUT. Here you will choose your LUT file as you normally would and it will apply that look to your clip. Now, highlight both the Adjustment Layer with the LUT applied and your video clip, right-click and choose New Compound Clip. Give it a name (the default name will be fine) and click OK. Now here is the beauty of using a LUT that is applied to an Adjustment Layer vs being applied to your clip. Now you are able to adjust the opacity of the effect or better yet, the blending mode so you are able to get even more control over how your video looks. If you want less of an effect, you can just lower the opacity or change the blending mode to Soft Light. If you more of a harsh effect, you can try changing the blending mode to Overlay and the play with the opacity to suit your liking. I have been using this method for almost a year and my cinematic looks have greatly improved now that I have more control over my clips! If you ever want to change the LUT on your compound clip, all you have to do is double-click on the compound clip and select a different LUT in your Inspector. It’s that easy and it definitely is the best way to apply LUTs!


