Recording interviews or documentary-style films doesn’t seem difficult but there are some rookie mistakes that a lot of beginners make. Here are a few simple things you can do during your next interview videos shoot to make them look more professional.
Choosing a One-Camera or Two-Camera Setup
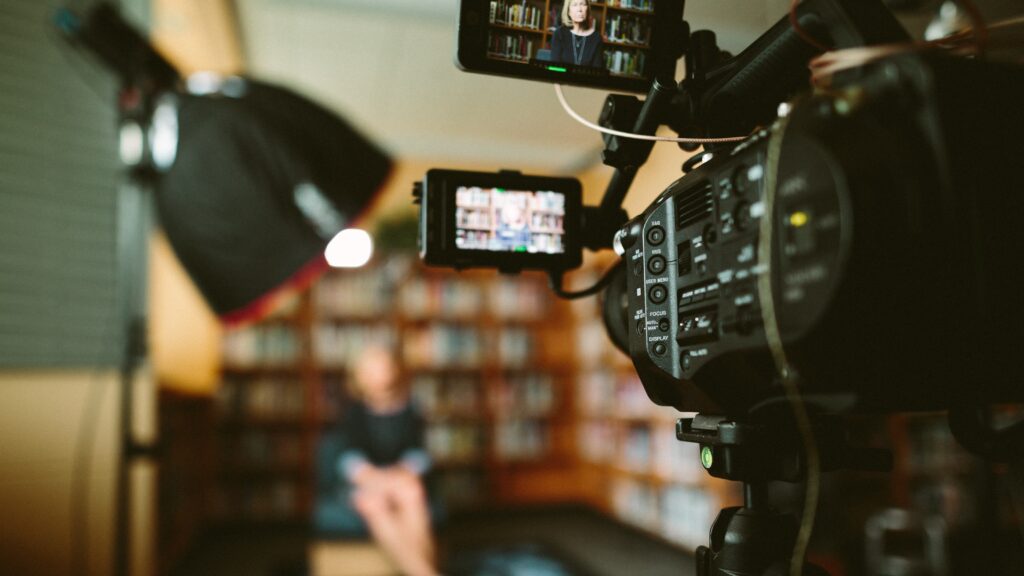
We have all seen those boring interviews where it is just one static shot. It’s kind of boring to watch an interview like this and most of the time it is amateurs thinking they can just use their iPhone to record a professional-looking video. But what makes the more professional interviews we have seen on news shows and documentaries look so good? It isn’t the type of camera, its how many cameras. Use a two-camera setup is one of the best ways to make your interview instantly look better. This allows you to get more dynamic angles while being able to switch back and forth to keep the viewer engaged. Not to mention it makes it easier to edit together as you can simply cut to a different camera if the interviewee messes up!
The Background
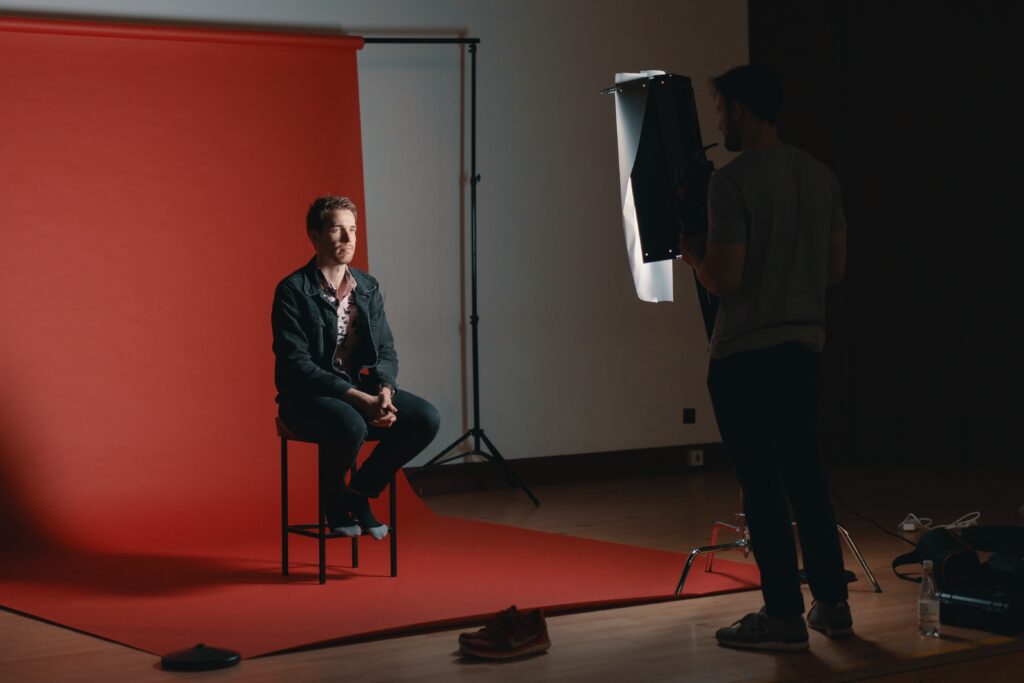
One of the things I see most amateur interview filmmakers do when setting up the main camera shot is to back the interviewee up against a wall or in a corner. This is a total mistake for a few reasons. First, when you back your scene against a wall, you don’t create any depth in your shot. This means on a basic level your background will be in total focus and not blurred out. Secondly, because your entire scene is in focus, you will not have your subject as the focal point. To create depth in your scene you simply need to separate your subject from the background. I like to be at least 10 feet from a wall and use a smaller f-stop (like f2.8) to make sure the background is blurred out and the subject is the main focal point.
Selecting the Right Lighting
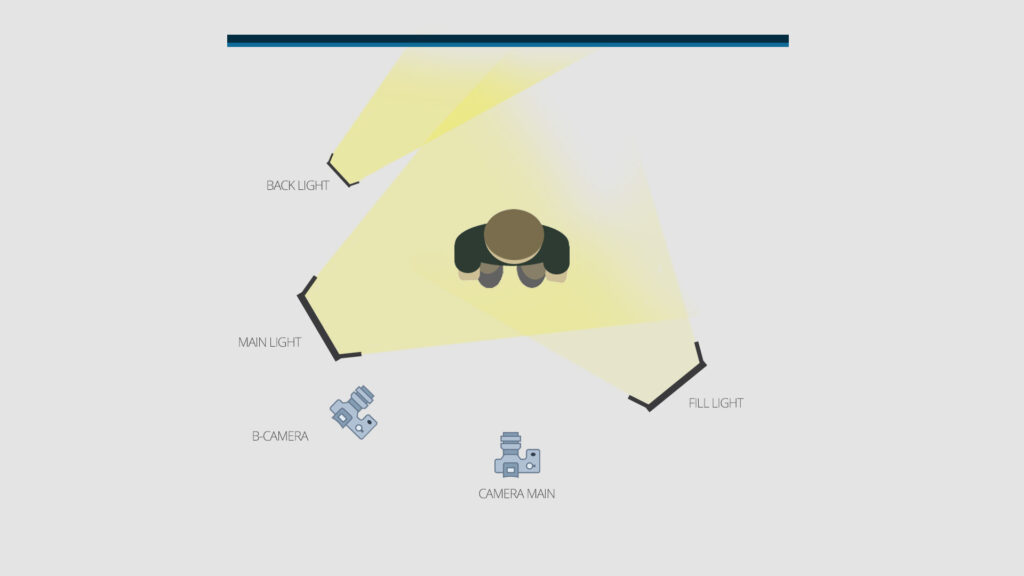
One huge myth is that you need a super expensive camera to get great footage. The truth is as long as you have good lighting, you can get quality videos! The best thing about lighting is that it doesn’t have to be the most professional lighting setup either. Depending on the situation, I like to use a 2-light setup with just a main and fill light. For a super professional look, you can incorporate a backlight just to separate your subject from the background. If you are new to lighting and are not sure where to start, you can check out the relatively inexpensive Neewer Dimmable Bi-Color 480 LED Video Light and Stand Lighting Kit. This simple setup is great for beginner lighting setups and is what I personally use still.
Getting the Beat Audio
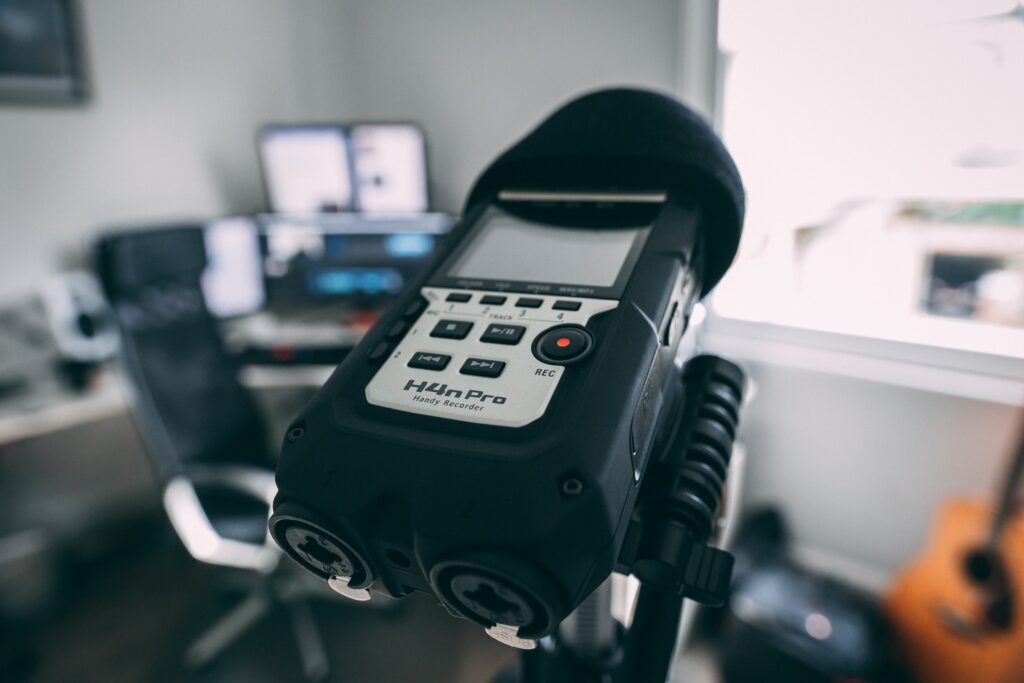
Probably the second most important component, second to your lighting, is your audio. What good is an interview if the audio is bad?! When it comes to microphones you have plenty of options but I feel the best option is using a lavalier setup. For interviews, I use the Comica CVM-WM100 Plus UHF 48-Channel Wireless Dual Lavalier Microphone System. It is an inexpensive setup comparted to other wireless options out there and it also has fantastic audio quality. You can plug it directly into your main cameras mic input and you are all set!


