Final Cut Pro is full of awesome features and you can create amazing videos with all of the built-in effects but one thing that is missing is Motion Tracking. Currently, this feature is only capable naturally if you use Apple Motion. Motion is very easy to use and the Motion Tracking feature works very well but wouldn’t it be great to do it all in FCPX? In this article, we will talk about how you can do this using one simple plug-in from Pixel Film Studios.
So obviously the first thing you need to do is purchase and download the FCPX Auto Tracker plugin and install it (very easy process) into Final Cut Pro. One thing to note before we continue, this post is NOT a paid endorsement post. I purchased this plugin with my own money and have been using it for real-world for my business.
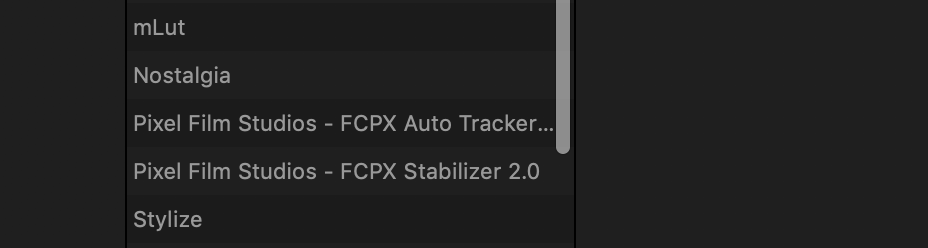
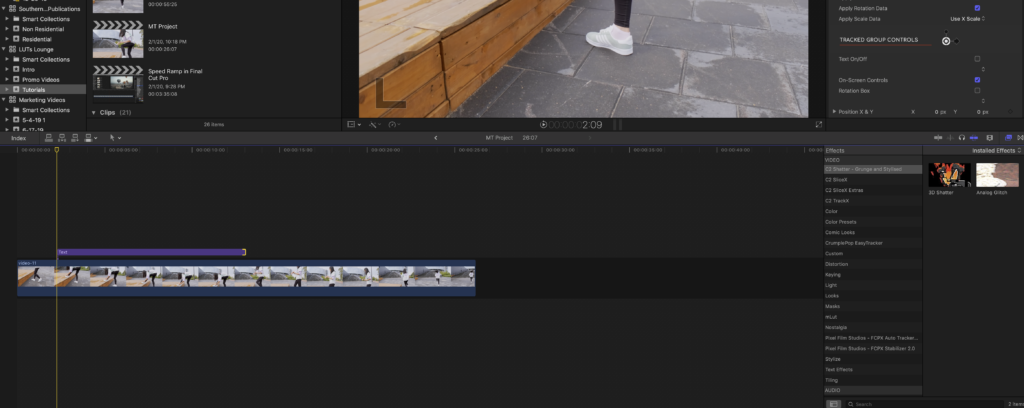
Once you have the plugin installed using the instructions provided you will need to load your footage into your timeline. From here you will see Pixel Films Studios – FCPX Auto Tracker in your Effects browser. You will also find the same options in the Titles menu as well. We will discuss the differences between these in just a bit.
So now let’s talk about the differences between these two products that are inherently the same but act differently. To simplify it, if you are wanting to apply motion tracking to your entire clip, I would use the Auto Tracker found in the Effects Browser. If you are wanting to apply motion tracking to a specif segment of your footage, I would use the Auto Tracker found in the Titles section. In this tutorial, I will be using the tracker found in the Titles menu but you can use these same principles via the effects browser.
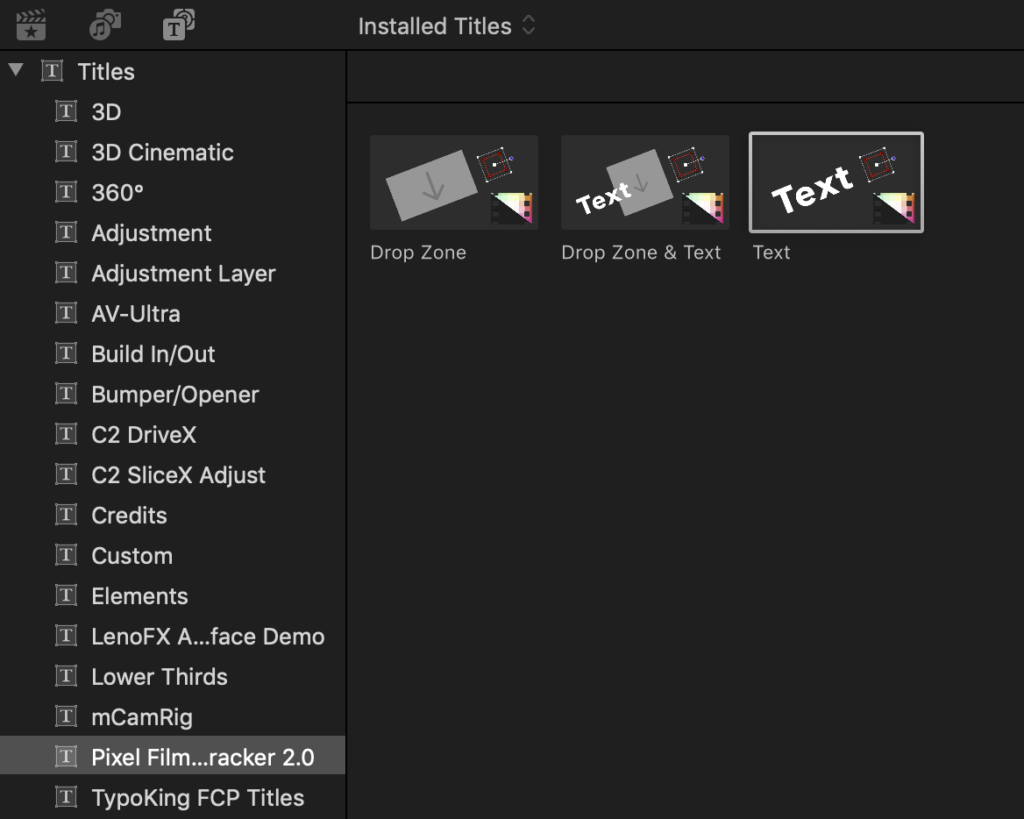
Now, let’s start tracking! You have 3 options for the type of tracking you would like to do. you can do simple text motion tracking, a Drop Zone tracking which means you can place an image on your footage and tracking it or you can do both with Drop Zone & Text. For this example, we will use a simple Text tracking.
Now we need to go to our Title Inspector located at the top right of your FCPX window. This inspector has tons of options that we will need to change but the first thing we need to do is get the tracking data for your footage. To do this, you will need to click on the Track Editor button.

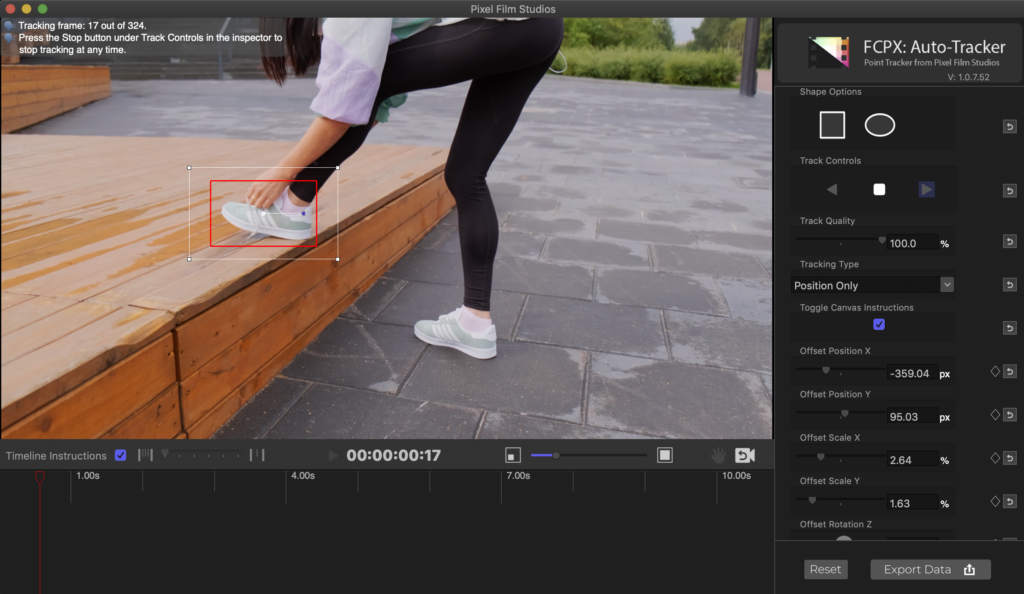
Once you do this, it will bring up the FCPX: Auto Tracker menu. Here is where you will actually tell your software what to track. In my example, I want to track the shoe once the model places it on the platform.
You will see on your screen a marker with a red inner box and a white outer box. This is what you will put over your subject to track. In my example, I will track the shoe the model is wearing so I can add the name of the shoe right next to it.
Click and drag on the box to move it in place over your subject you want to track. You can use the outside square to stretch and move it around to cover your subject. Next, we will need to change some settings on the right-side panel. First I would recommend change the Track Quality to 100%. This will allow the Auto Tracker to create more stable data. Next, make sure your Tracking Type is changed to reflect the type of clip you have. In my example, I will keep the default Position Only selected as I just want the words to follow the shoe. If you have footage where you are zooming in or out of your subject, I would choose Position + Scale. If you have rotation in your footage, I would recommend Position + Rotation. If you have some complex footage, you can choose all three, Position + Scale + Rotation. Next, under the Track Controls, you will just need to hit the right arrow, the Track Forward button, to start the tracking data retrieval. All you need to do from here is wait until the software tracks your selection.
Once it is finished, you will see all of the tracking points appear. This is when you will need to click the Export Data button at the bottom right. Once you click this button, you will be taken back to the timeline and your tracking information will be placed on your clip. Now we need to add our text.
To add and edit your text, you will need to go back to the Title Inspector and to the FCPX: Auto Tracker. Go to the Tracked Group Controls section and make sure Text On/Off is checked. This will make the default text of FCPX Auto Tracker 2.0 appear (don’t worry, we are going to change this).
Next, at the very bottom, you will see the Text Controls section. Here you want to make sure the Edit Text box is checked. This will allow you to actually change the verbiage and typeface to further customize it. To do this, double click on the default footage and this will take you to the Text Inspector where you can change everything about your text as you normally would.
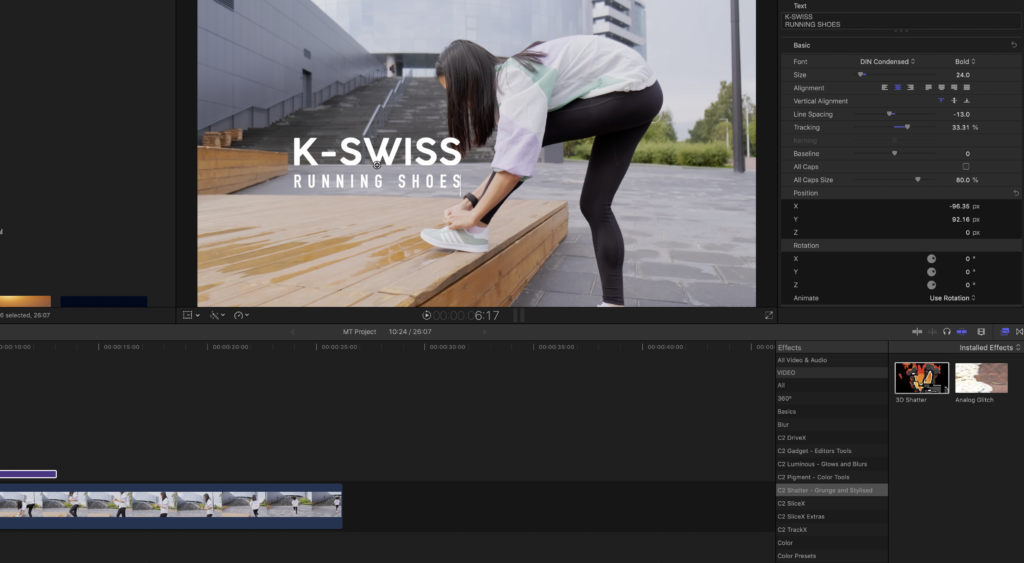
Now your last step is really simple. If you need to move your text around to find the right position, a simple double clip on your text and use the center crosshair to move it around your video. After that, you are done!
There are other company’s out that offer similar plugins for Motion Tracking directly in Final Cut Pro but this is best and most accurate one I have used so far!


