When people think of 3D LUT files they usually think of video or film editing. While this is usually the case you can actually use LUT files for photo editing as well with programs like Adobe Photoshop. Now, we have another program we can add to the list of editing programs that support LUT files and that is Skylum Luminar 4.
How to Apply 3D LUTs in Luminar 4
First, you need to either upload the image you want to edit into your Luminar Library or select an image that is already loaded.
Next, click on the Edit tab at the top right. This will take you to the normal editing module. On the right side of your screen, you will see 4 icons that represent the different editing tools available in the edit module. The Sun icon represents the Essentials Tools which is the default view, the Paint Palette which si for the Creative Tools, the Smiley Face icon which is for the Portrait Tools and the Pro Icon which houses the more professional or complex editing tools. You will need to select the Creative tools to start loading in your custom LUTs.
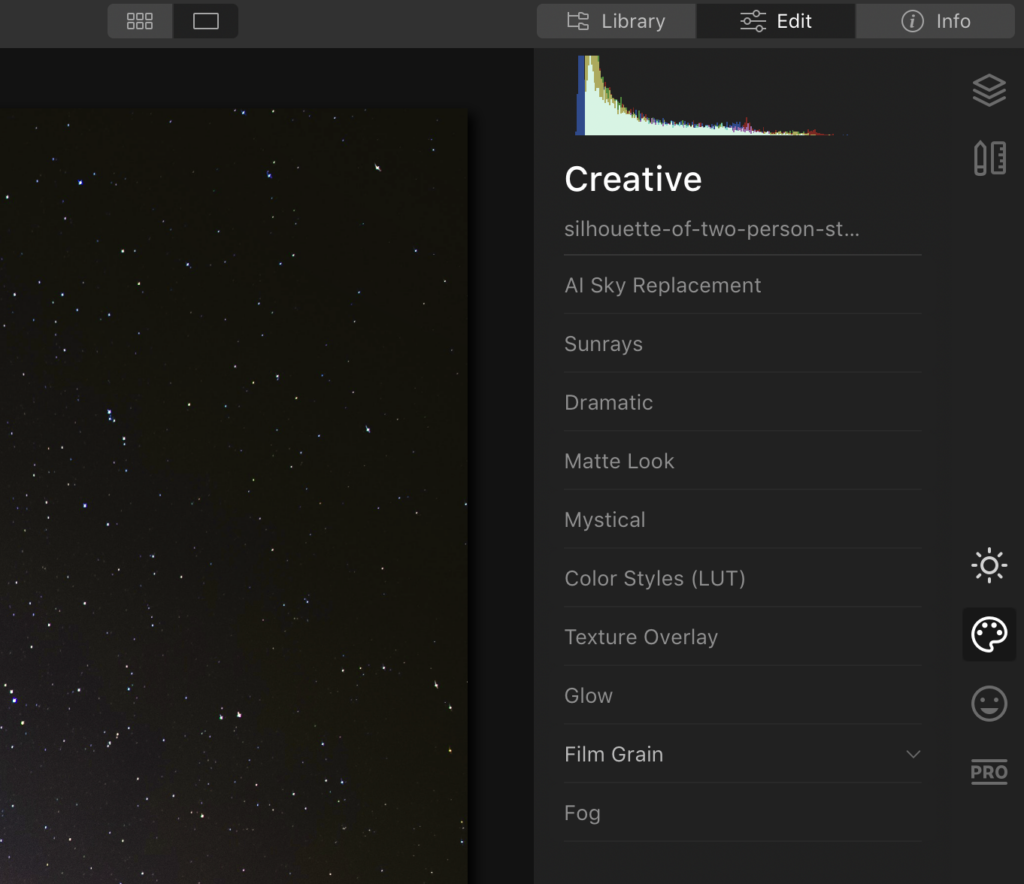
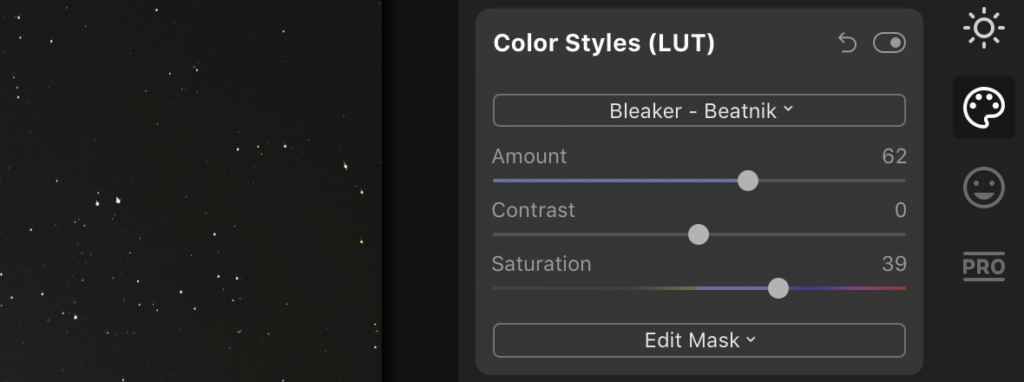
There you will find the Color Styles (LUT) option. Expand that menu and you will have a few options to start manipulating your image. First, you will need to load a custom LUT file. Click the Choose LUT and you will see that Luminar actually comes preloaded with a few great LUT Looks. You can feel free to play with those but if you want to load your own 3D LUTs, select the Load Custom LUT File option. This will bring up a file browser where you can navigate to your chosen LUT. After selected, you will see the effect applied to your image.
If you want to further customize your look, you can play with the Amount, Contrast, and Saturation sliders to dial in the exact effect you are looking for in your still images.