Using custom Transitions is a great way to differentiate your footage from those who use the default ones found in Final Cut Pro X. In this article, we will show you how to install customs transitions in Final Cut Pro X in 3 easy steps!
Step 1: Download Your Custom Transitions and Unzip the File
Once you have downloaded your custom presets, you will need to decompress or unzip the file. It isn’t guaranteed that they will download as a ZIP file but since transition files can be large in size, they most likely will.
Step 2: Close Final Cut Pro X and Copy the Transitions
Before you can make these changes, you will need to shut down FCPX so your changes, once made, will take effect. Now you will need to copy your downloaded Transitions to a specific folder path for them to show up in your editor. They will need to be placed in the Home Folder > Movies > Motion Templates > Transitions folder.

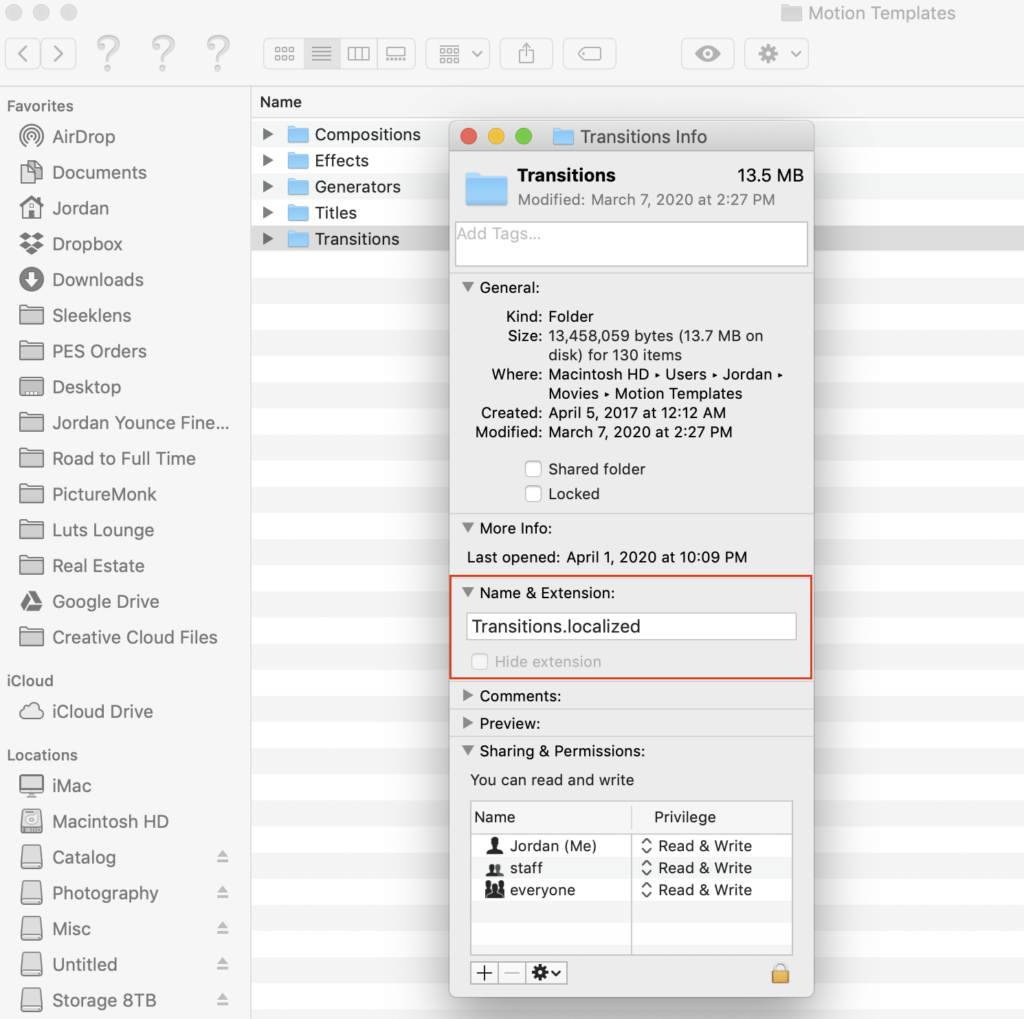
If for some reason you don’t see a Transitions folder you will need to create one. Right-click and choose New Folder and label it Transitions. Now, right-click on this newly created folder and choose Get Info. Here, look for the Name & Extention section. Make sure this section reads Transitions.localized (exactly the way it is displayed above. After doing that, you can close out of this dialog box.
Step 3: Reopen Final Cut Pro X

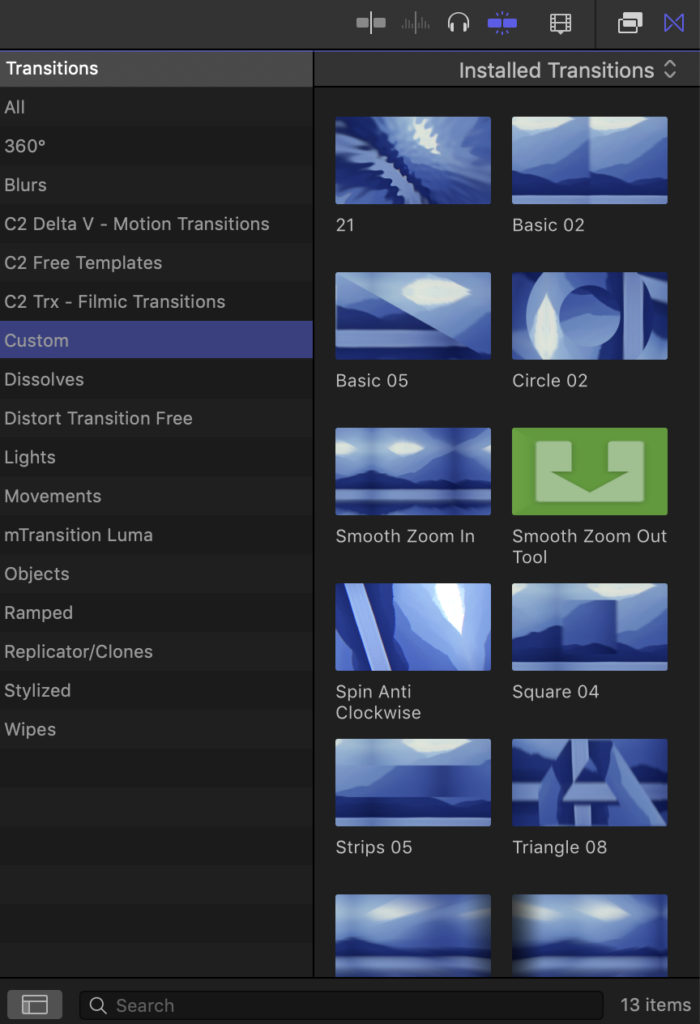
Now that your transitions are installed, you will simply need to reopen Final Cut Pro X and you should see all of your custom Transitions where all of your other Transitions are located. Note: Depending on where you downloaded your Transitions from, they could show up in there own specific folder or be located in the Custom folder.


