Captions are used often these days on social media. One of the reasons is mainly for smartphone users. Let’s say you are scrolling on Facebook and your phone is on silent and you come across a video that looks interesting. You are actually more likely to watch the video if it has captions on it than a video without captions. This is why you may be seeing ore and more videos with subtitles or captions included. Final Cut Pros makes it extremely easy to import captions and we will show you how in this tutorial!
How To Get A SRT Captions File
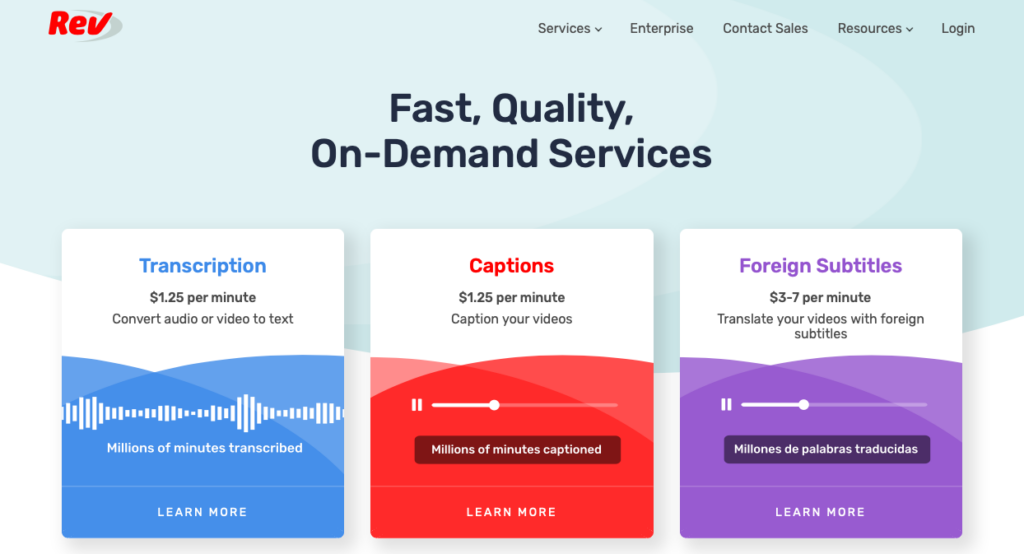
You essential have two different ways of creating captions or subtitles to use in your videos. You can create them manually (by listening to each word in the video and typing it out yourself) or you can use a service that creates them for you. One of the best services I have used in the past for this is called Rev.com.

Essentially, all you have to do is upload your video under the Captions category, upload your video, submit payment, and they will do the rest. You will receive a captions file (a .srt file) for you to import. If you are wanting to save money or if you have a short clip, then I would recommend creating the captions yourself but using a service like Rev is a great option for larger jobs.
How to Import Your Captions
If you have decided to use a third-party service to create the captions for you, you will receive a .SRT file for you to import into your editor. So, what exactly is a SRT file? It is a time-coded transcription file that holds all of the caption information and lays it out in order. This way you won’t have to worry about matching up the verbiage in the right spot.
To Import Your Captions:
- Drag the video you used to create the captions into your timeline.
- Place the play head to the begging of your video then go to File > Import > Captions.
- Choose your .SRT file and then select Import.
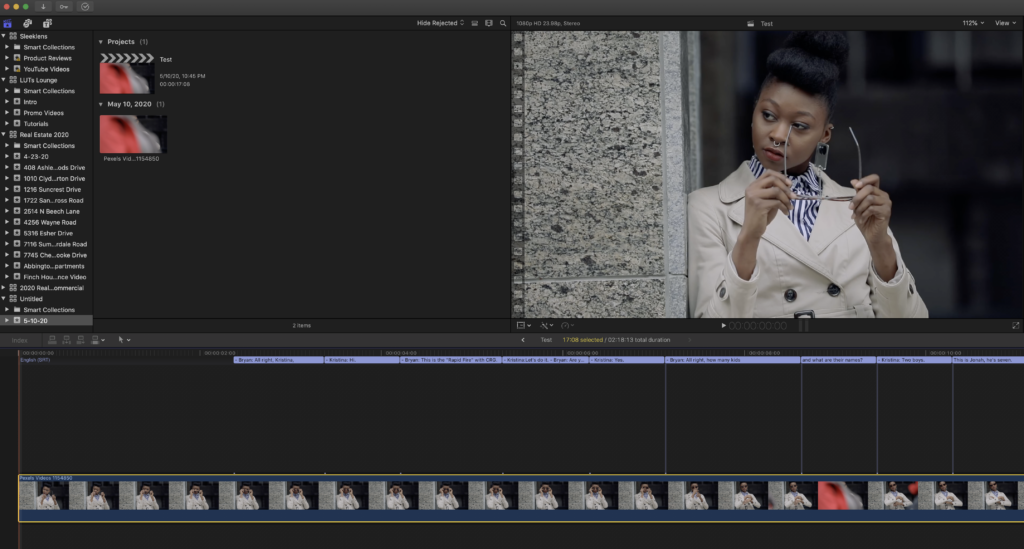
After the import process is complete, you will see your captions loaded into your project at the top of the timeline window. They will appear as light-purple boxes right below the time markers in the timeline. If you are looking for simple captions then you are basically done at this point but most times you might want to adjust the font and colors. We will do that next!

Adjusting Your Captions
After your captions are added to you can do some basic adjustments to make them more customized. If you go to the Inspector, you can change the placement if needed. You can also change the color to make them stand out more. Don’t get too crazy with them as captions are typically meant to be a black background with white text. You can however, play with styling like making them Bold, Italic, or Underlined.
Exporting Your Project With Captions
Once you have your captions the way you want them, now it is time to export them! This isn’t as simple as just exporting your video clip. You have to assign the captions to Roles to make sure they show up in your final project.
Export with Captions:
- Go to File > Export or you can use the shortcut keys Command + E to bring up the export window.
- Select the type of export you typically do and change the name, if needed, to reflect your project.
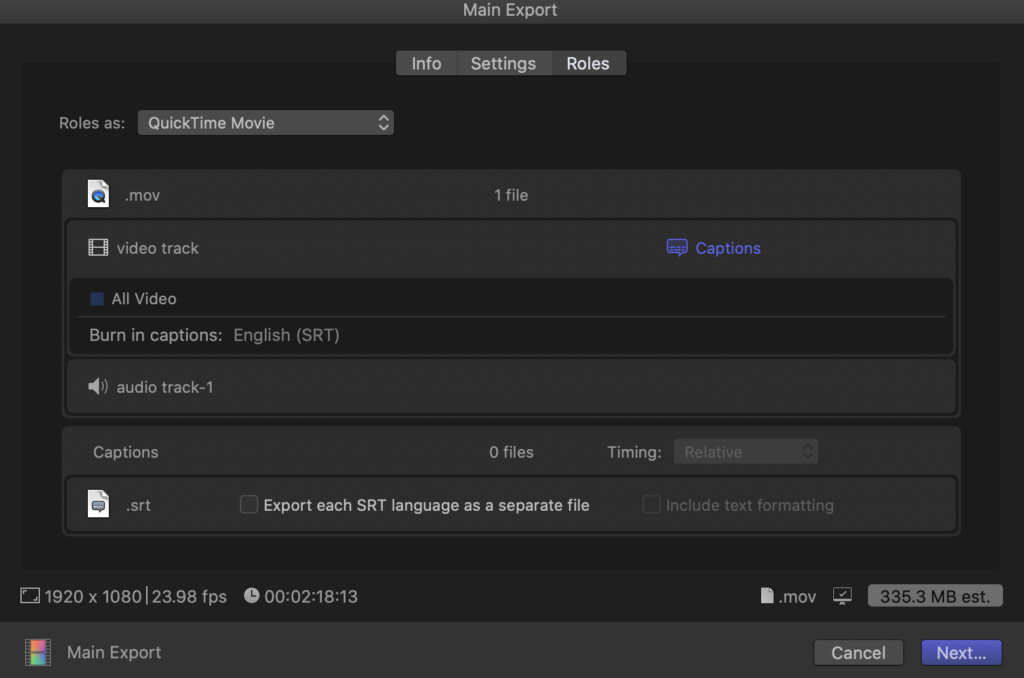
- Click the Roles button at the top of the export box.
- Next to the Video Track, you will see a tiny Captions Icon. You will need to click on that to reveal the captions menu.
- Click the drop-down menu next to Burn In Captions, and choose the subtitles you want to include.
- Click OK and you will now see your captions listed under the Video Track.
- Export your video as you normally would.

That’s it! Now your video will have the captions “baked” into the video! Now if you are a video editor and want to offer this as a separate service to your clients, you know how to easily add captions to your video!


