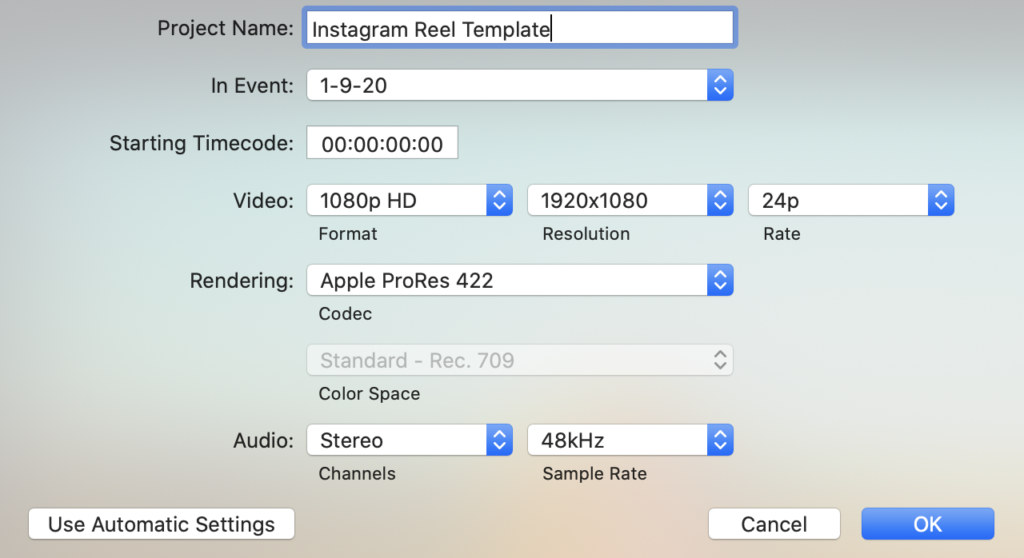
Many editors know of the typical project dimensions such as 1920×1080 (1080 HD) and 3840×2160 (4K) but did you know you can also create custom resolutions as well. This is great for projects such as social media and for vertical video. One of the most popular uses would be for Instagram Reels and Stories.
Using Final Cut Pro X, or any other desktop video editor for that matter, will give you more control of your project and will make it stand out from the other Stories and Reels you might see online.
Creating Your Custom Video Project
So, let’s create our custom project for use as an Instagram Reel. The first thing you will want to do is go to File > New > Project. Once here you will have the option of selecting where you want to save your project, change your project dimensions, change frame rate, etc.

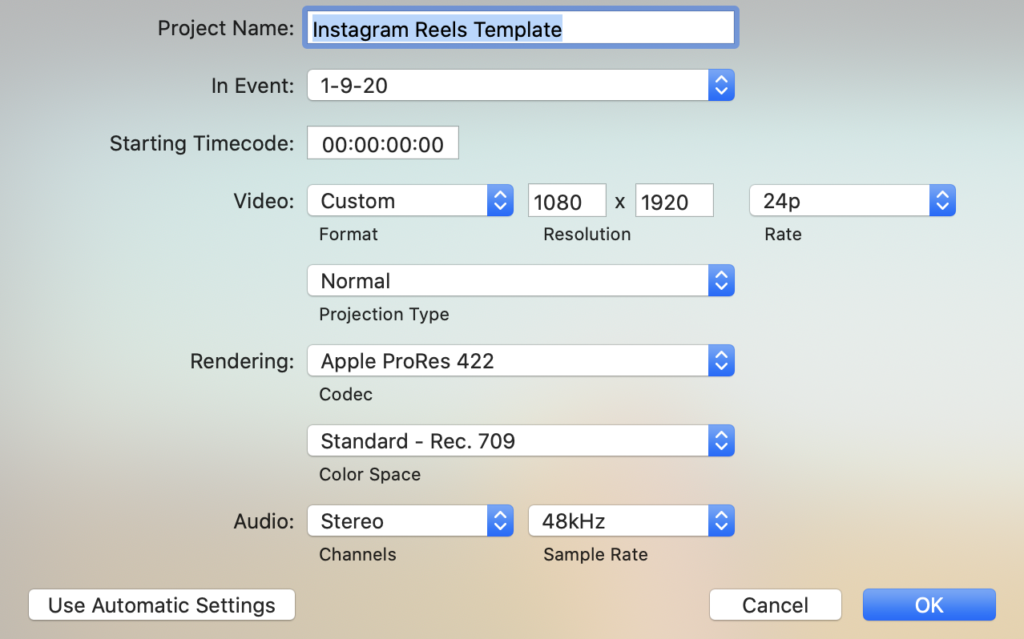
After you name your project and select the Event to where you want to save your project, the main section we are going to look at is the Video Format and Resolution dropdown.
In the Video Format dropdown, you will see a list of standard and common video formats but we want to choose Custom at the bottom. Choose Custom and this will allow you to change the Resolution to any size you like. In our case, we want to make a vertical 1080p project. To do this, you will need to change your resolution settings to what is pictured below (1080p x 1920). This is the appropriate sizing for an Instagram Reel or Story. If you want to create a square project to use as a general Instagram post, you can change the resolution to 1080 x 1080.

After that change is made, the other settings are really up to you but you can see the settings I used as a guide. Once everything is setup, you can click OK. Now you will see your newly create project and it will be in vertical HD orientation. Now you are free to create your custom vertical project.
I definitely prefer creating these types of posts in Final Cut Pro X since I have way more flexibility and creative tools to use compared to using other apps on the phone.


