Let me start off by stating that this is not going to be a ground-breaking technique to learn but it can come in handy if you want to speed up your workflow. This is especially useful if you are always adding the same types of content to your videos. In this case we will be creating a YouTube animation so we can easily add this to my future videos without having to create it every time while also keeping it consistent.
Creating Your Transparent Video
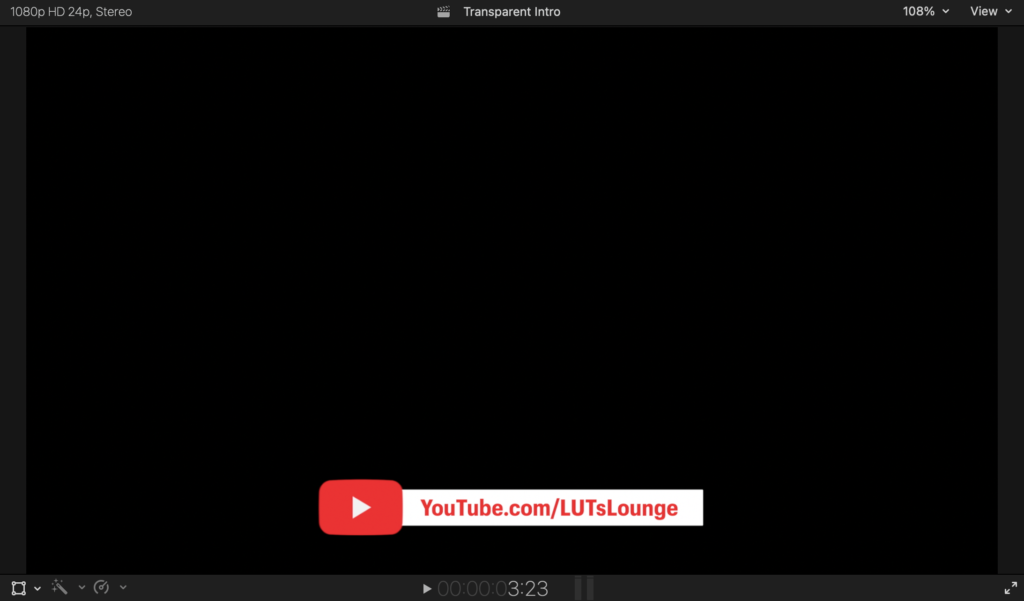
So creating your transparent video is actually very simple. In our example, we are going to create a lower-thirds animation to place on my YouTube videos. This will be a simple YouTube Logo reveal with the LUTs Lounge YouTube Channel URL so views can easily find this channel in the future.
This first thing we are going to do is create a new project at the resolution you will use for your videos going forward. I export most of my YouTube videos at 1080p so this project will be at that resolution. Next, you have the option of creating your own simple animation using text effects of you can use a third-party title like I am using in this example. This animation comes from the Graphics Pack – Final Cut Pro X & Apple Motion Pack by MotionCan.
Drag the animation down to your timeline. Make sure you have no other layer on your timeline. This is very important and one of the main steps to get a transparent background.
Next, customize and size your animation accordingly. In this example I will have the YouTube animation at the bottom center of the video. Then, change the duration of the clip to your liking. It is important to know how long you want this animation to last as it will be difficult to change later. In my example, this animation will last about 8 seconds.

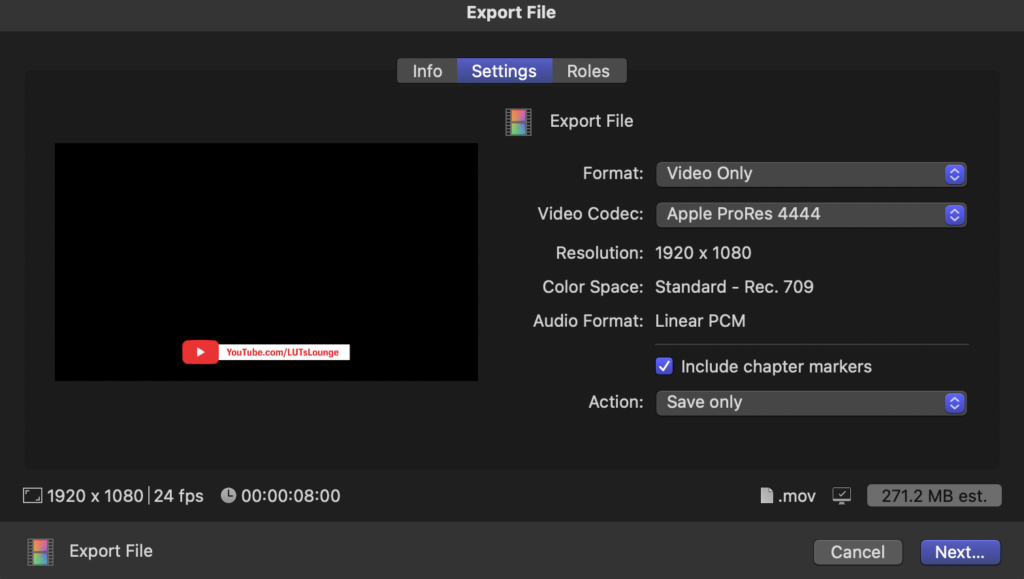
Once you have everything how you want it, it is time to export your video. Click the Share button at the top-right of your Final Cut Pro X window and choose Export File (default). In the Export File dialog box, click Settings and choose Apple ProRes 4444 under the Video Codec dropdown menu. Also be sure to choose Video Only in the Format section. Now, you can click next to choose where to save this video clip and let FCPX export your video.

Now, whenever you create a new video, all you have to do is drag this video with the transparent background into your timeline and you can your own custom animation ready to go. This will save you time and keep your branding consistent!


