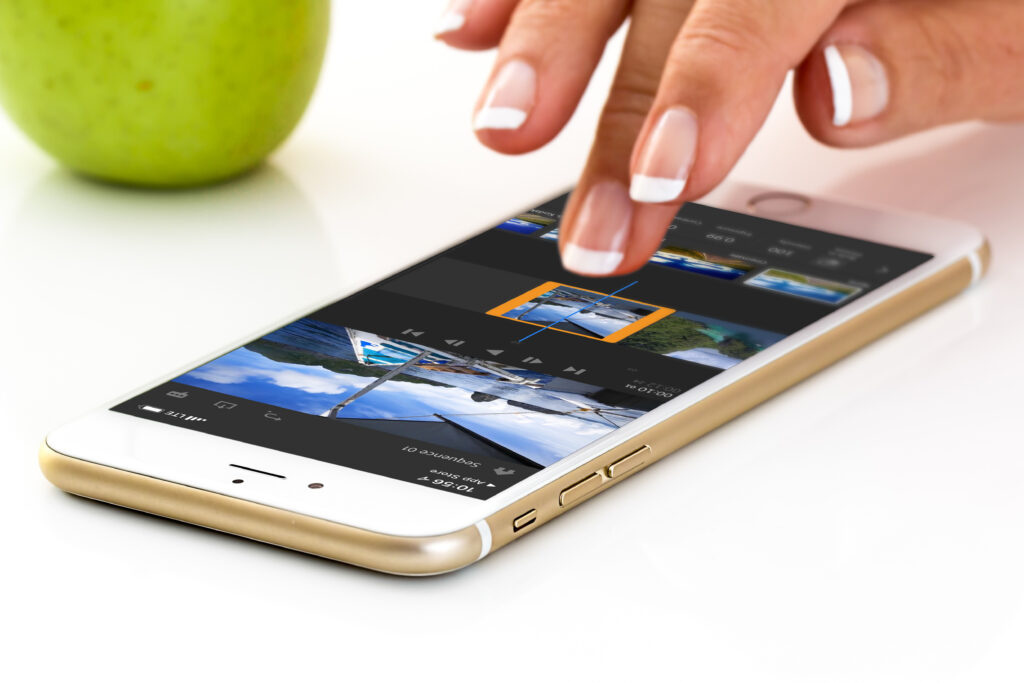
iPhones are getting better and better when it comes to recording high quality video. Most of the time all you have to do it open the Camera app, switch to Video mode and press record. But, if you are wanting to take your videos to the next level, here are a few tips to help you out.
Change Your Frame Rate
One of the simplest things you can do when you need to get the best video possible is to change the resolution and frame rate of your video in the iPhone Settings. The best and most versatile settings to change it to is 4K at 60 frames per second. To do this, head to your Settings app and scroll down until you see the Camera section. From here you, under the Record Video Section, you will need to change it to “4K at 60 fps”. Whilw you are there, you might as well change the Record Slo-mo Section to “1080 at 240 fps”. Choosing the 60fps/240fps frame rates will give you the ability to slow down your footage if you ever need to smooth/stabilize it while still having a high enough resolution with the 4k and 1080 respectivly.
Use Exposure/Focus Lock
Even though your iPhone is a very capable video device sometimes it is not that smart. This is what happens when the iPhone is suppose to be an Automatic Video Device with minimal user input. Thankfully, Apple has help us correct a scene if the software gets it wrong. This feature is called Exposure/Focus Lock and it is very usful in certain situations. One popular example is wif you have a backlit subject. It this scene, the iPhone will read the bright backlit and drop the exposure to accomdate but we want to exposure for the person in the scene. Here you will tap and hold on the person in your scene until the AE/AF Box appears. Once this is done the focus will be locked and you can drag your finger up to brighten the exposure or down the darken the exposure.
Please, Please, Please, Record Horizontally
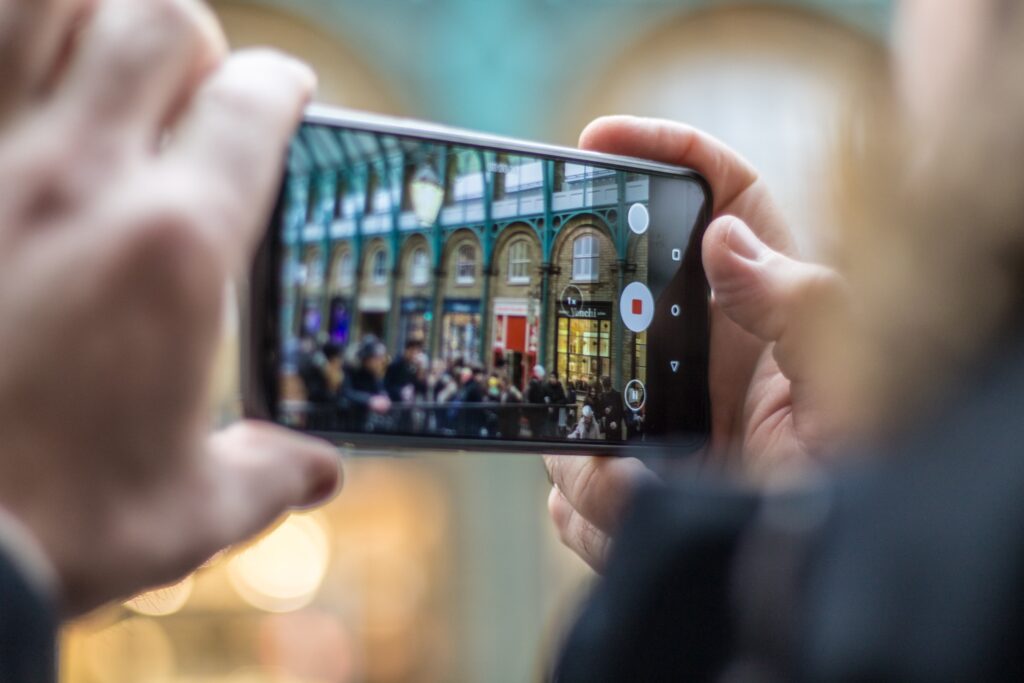
Out of the tips so far, this one is the easiest one to follow but probably the most important. If you really want to record better looking video, simply turn your phone sideways. Now, I know it is easier to record in vertical mode but unless you are sharing the video on an Instagram Story/Reel it just makes your video look cheap.
Don’t Rely on Stabilization, Use a Gimbal
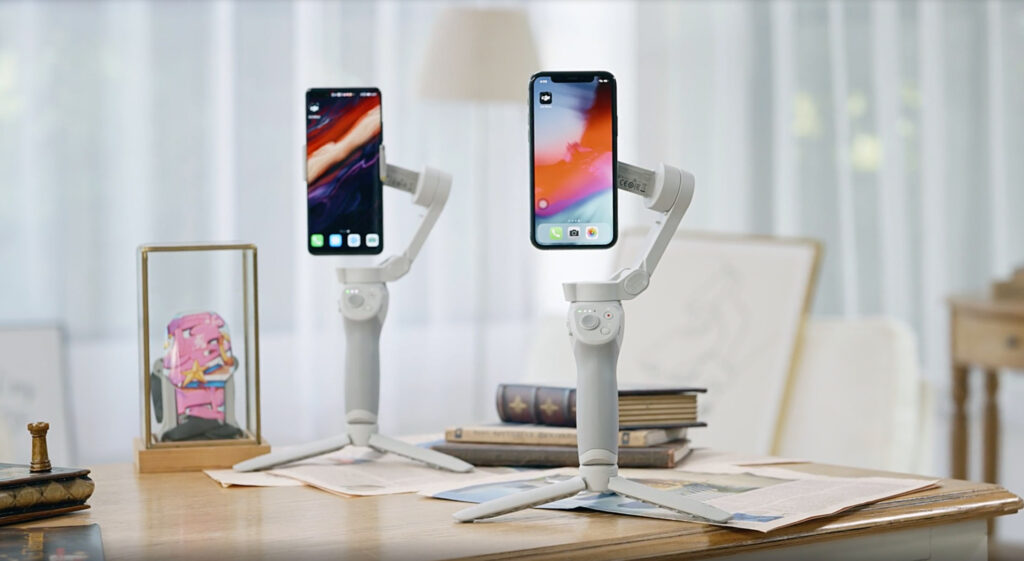
Don’t get me wrong, software stabilization can really be great for on-the-go videos but to get those really buttery smooth videos you are going to need to invest in a gimbal. The best gimbal on the market right now is the DJI OM4. It has powerful motors, a magnetic attachment adapter for convenience, on-unit controls and even more features when recording with the free DJI Mimo app.
Think About Your Editing
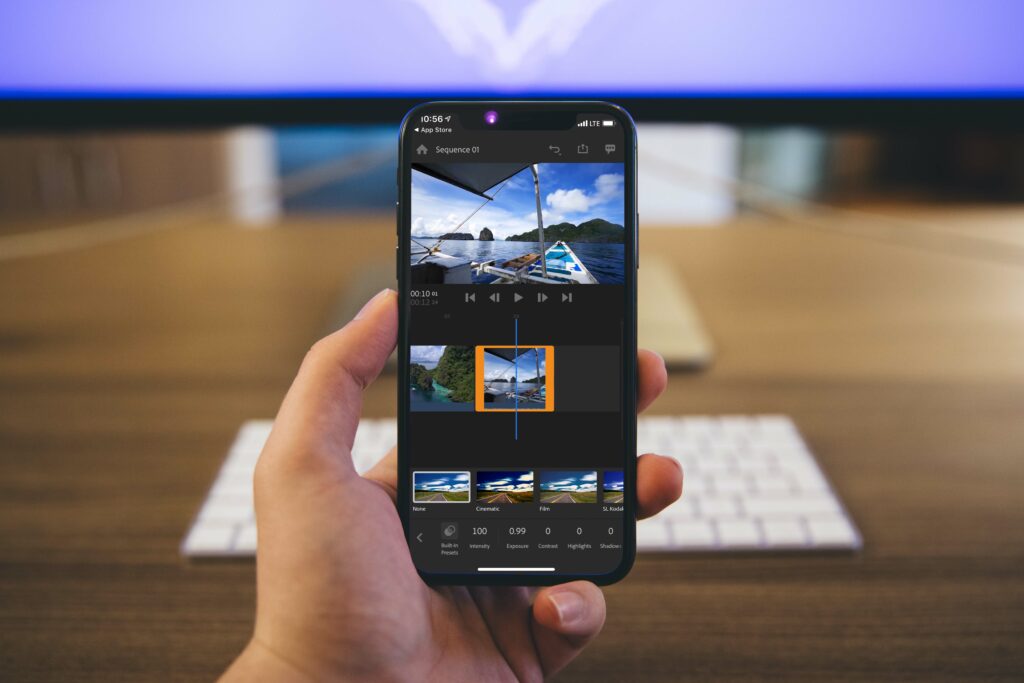
Very rarely are you able to shoot the perfect video without have to edit anything. Even if you are just recording a short clip you might still have to make some small adjustments. You can always export your clips to your computer and edit your videos in the desktop version of iMovie or Final Cut Pro but if you want to get your video how fast, you might want to try editing on your mobile device. Their are many apps on the App Store for editing but some to consider are Adobe Rush, iMovie (the iPhone app), or Videoleap. These are great options with powerful features and will allow you to edit on the go!
