Using a secondary display in Final Cut Pro is not just an optional feature but in my opinion, it is a necessity! No matter how many times I customize and change my FCPX workspace, I tend to get frustrated with the size of the viewer window. The viewer window is definitely the most important section for any editor and having a larger viewing window really helps with editing faster and more precise. If you have a second monitor laying around or even one that Is currently connected to your Mac, here is how you can utilize it for displaying a larger viewer as well as browser or timeline.
Changing Display Options (Viewer, Timeline, Browser)
First off, you will need to connect your second display to your Mac and turn it on. Obviously, if you already have a display connected to your computer you can skip this step but I would urge you to Color Calibrate both screens before proceeding. It is always good to do this anyway every couple months anyway.
After your second display is connected, turned on, and calibrated open up Final Cut Pro. If you already had FCPX connected when adding the second monitor you will need to restart FCPX.
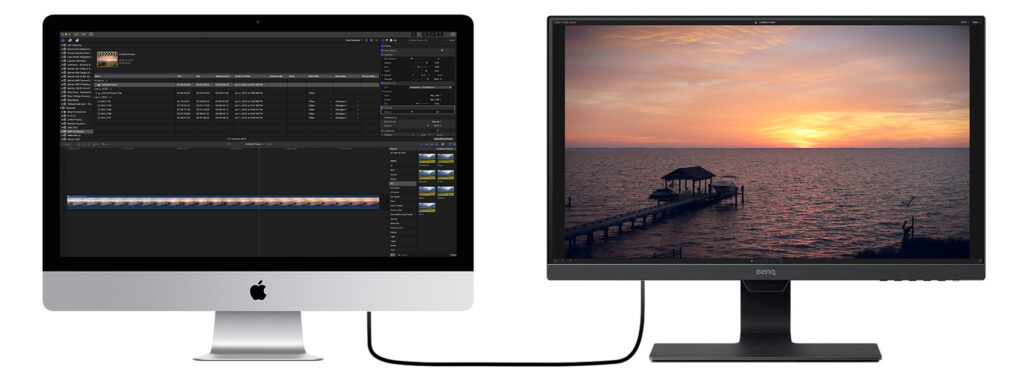
Now in the main menu, click on Window and hover over Show in Secondary Display. This will show a pop-out menu that gives the choice of displaying Browser, Viewers, Timeline. You can certainly select whichever workspace that works for you but for this tutorial we will be selecting Viewer.

Once selected, the Viewer will show a full-screen on your secondary display. This not only allows you to watch your projects on a bigger display but also frees up more room on your main display so you can customize your browser and timeline accordingly.
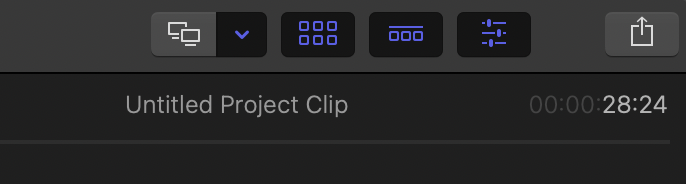
If at anytime you want to remove the viewer, browser, or timeline from your secondary display, you can click on the Secondary Display Button in the top-right section of your Final Cut Pro window (the icon with two computers side-by-side).