Everyone knows that you use LUTs when you are creating unique looks in your videos but not a lot of people know that you can use them in Adobe Photoshop as well. This is a great way to add some quick color grades to your still images and it is every easy to do. As a matter of fact, if you would like to play around with this feature before purchasing of LUTs, Photoshop has a few Lookup Tables built-in.
To look at these built-in LUTs and play with them yourself, simply load an image into photoshop (can be both RAW or JPEG but for RAW you will need to click through Adobe Camera RAW). Then create a duplicate of your image on a new layer.
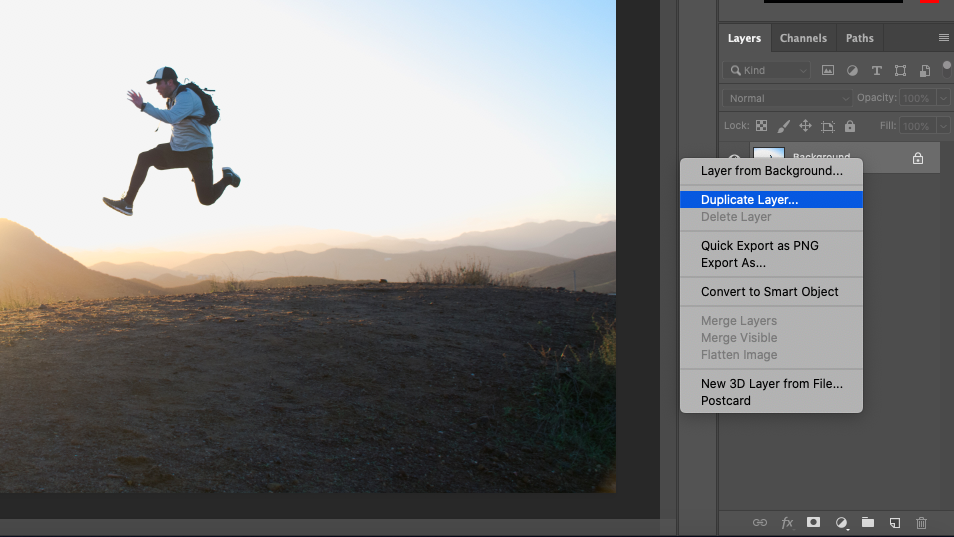
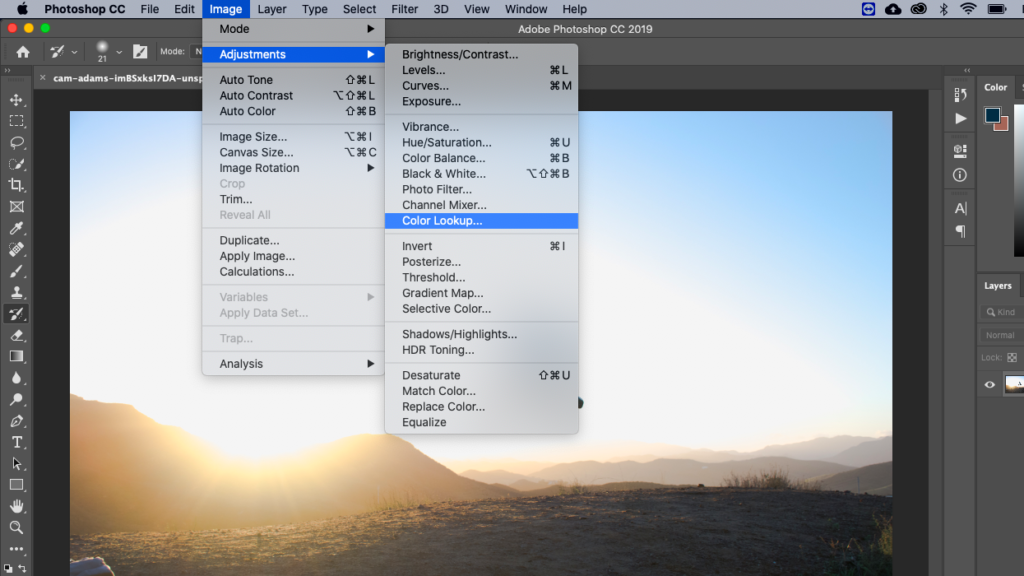
You can do this by right-clicking on the background layer and choosing Duplicate Layer. Go to Image > Adjustments > Color Lookup. (You can also select Color Lookup as an adjustment layer and your LUT effect will be applied as its own layer.)
Once the Color Lookup window appears, you will see a dropdown that says 3DLUT. In that dropdown list you will see a number of LUT files that you can add to your images.

Once one is selected, you will see a preview of the effect on your image. If you like that desired effect, you can click OK and the effect will be applied to your duplicated layer. This is great as it is a non-destructive edit while also allowing you to adjust the opacity and blend it in with your original image for a less intense effect.
Ready to Start Using LUTs?
If you are new to LUT files and want to try some on your own images, sign up for the Luts Lounge Newsletter and you will recieve 3 FREE LUTs that work with any video editor that accepts 3D LUT files as well as Adobe Photoshop.
Subscribe to the Luts Lounge Newsletter!


