Shortcuts are a fantastic way of speeding up your workflow and make you a more efficient editor. You can tons of shortcuts baked into Final Cut Pro and by no means is this a complete list but these are just a few that are popular and handy when needing to edit faster in Final Cut Pro
Cut / Blading Clips
One of the things you will always need to do to your clips is trim or cut them. one way to do this is to drag from either side of the clip to trim it down or you can simply press the “B” key on your keyboard. This will turn your cursor into a Blade and will allow you to cut your clip where needed. If you need to turn your sursor back to the arrow after cutting your clip, all you need to do is press the “A” key shortcut.
Snapping
Snapping is a great option for automatically aligning clips together in your timeline. If you have ever had troubles with transitions not working between clips or having small gaps between clips, turning on Snapping will take care of that. To toggle this option on and off simply click the “N” key.
Skimming
Skimming, if you are not familiar with this term, is when you are running the playhead through your timeline and you are able to hear the audio tracks, if applicable. This can be a good thing if you are needing to find a specific place in our audio but it can get a bit annoying. Every editor is different about whether they prefer hearing the audio. I personally like it turned off and if you are the same as me, you can simply toggle it on-and-off with the “S” key.
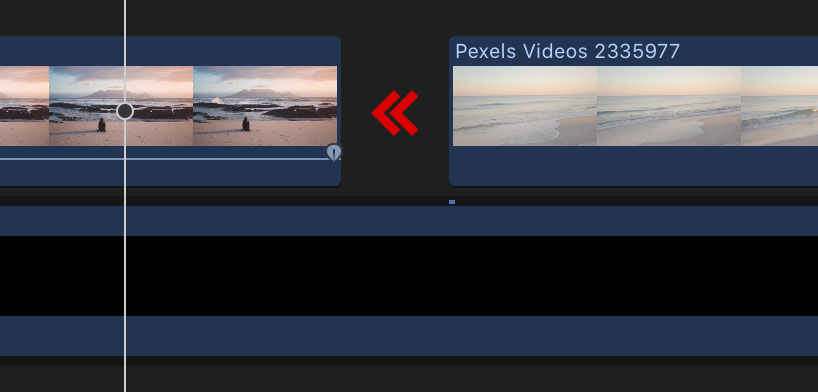
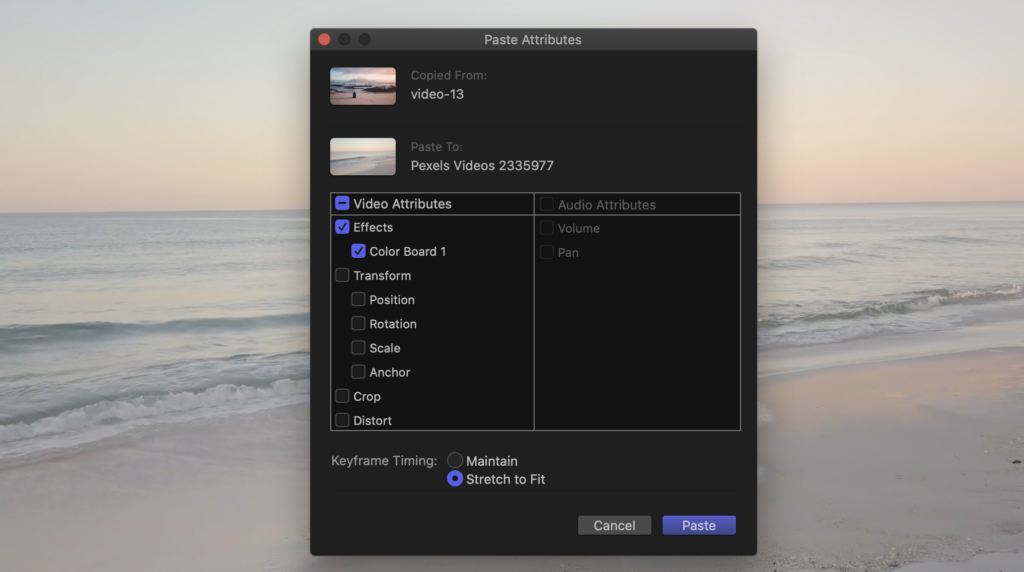
Copy and Paste Attributes
Many times when you are editing you will want clips to have the same settings or looks. Whether it is a specific crop or color grading you will need some of your clips to be the same. This can be easily accomplished by copy and pasting attributes. You can do this from the Edit menu but to speed up your workflow you can use the shortcut Command + Shift + V. This will quickly bring up the Attributes dialog box and give you the option of selecting exactly which settings you want to transfer to the other clips.
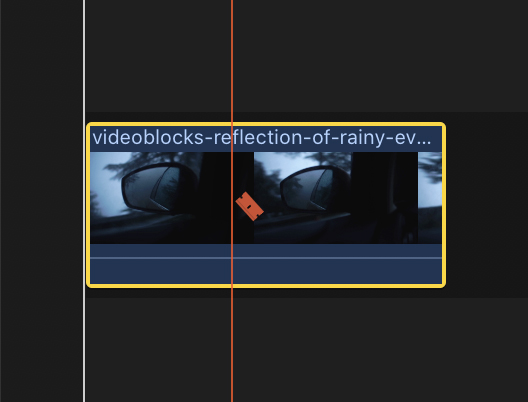
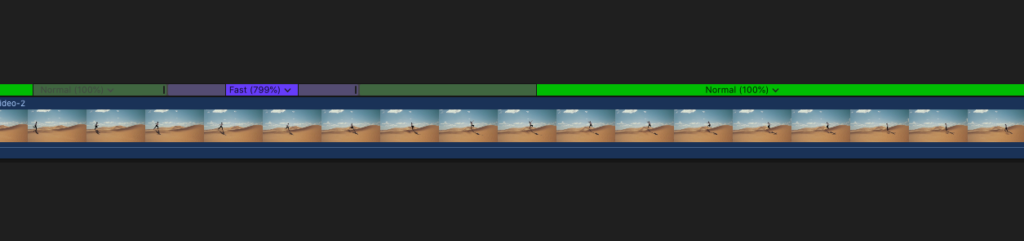
Speed Ramping
Speed Ramping is a very popular effect that we have dedicated an entire article too (you can find it here) but I wanted to take about it again here. When I first started editing it took me a lot of hunting around to find how to do this effect and it was as simple as using the shortcut Shift+B. This will “cut” your clip into as many segments as you would like and give you speed markers so you can change how fast or slow the clip ramps.
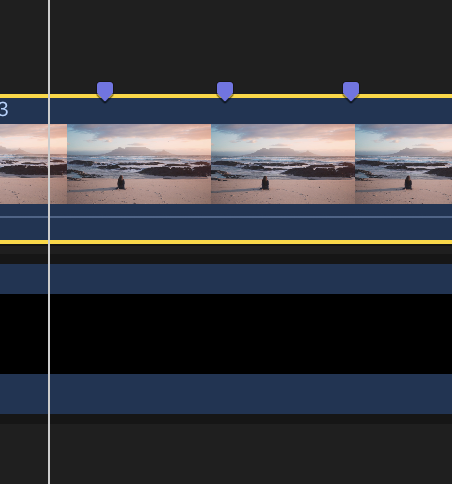
Add Markers
Markers are a great little tool for adding markers on your videos when you have something specific that you need to remember. They can really be used in a ton of was but I personally like to use them for timing my clip with music. If I have a song that I want my clips timed too, I will play the video with the audio in the timeline and while listening to the beat I will press the “M” key to create a marker. It will be displayed as a purple icon on your clip.